Create a Space for Your Sounds
Using the Mighty Reverb Plugin
A Reverb Plugin allows us to add artificial Reverb to any sound.
Natural Reverb (reverberation) is all around us. Sometimes we notice it, but usually (especially outdoors) we don`t.
Every natural sound we hear does one of the following things...
• Reflects off its surroundings creating multiple vibrations of the original sound
• Gets absorbed in its surroundings creating little or no reflections
Unlike echo which produces a couple of distinct reflections (which can be heard as clear copies of the original sound), Reverb produces thousands of reflections. The time between Reverb reflections are very short (less than 1ms (millisecond - 1,000 in 1 second)); therefore, we hear one continuous sound that hangs around for a while.
The Space Age!
A Reverb Plugin is a very powerful tool as it allows us to create our own space for the sound. We can make a sound appear to be in a...
• Tunnel
• Small tiled room (ex...bathroom)
• Large warehouse
• Tiny box
TV graphic showing Waves True Verb
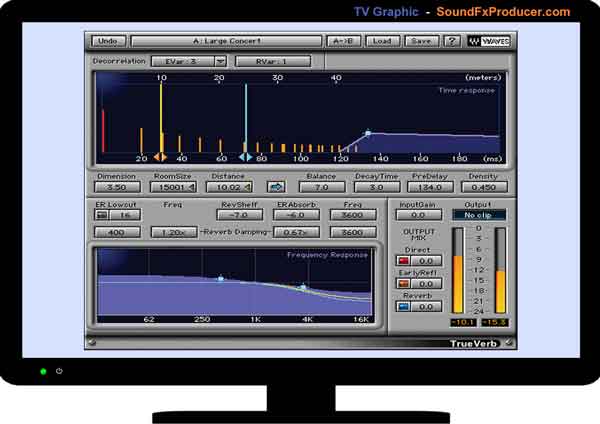
Screen shot (Courtesy of Waves Audio)
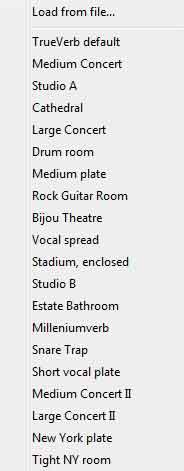
Pre-sets
Graphic - the factory pre-sets that come with Waves True Verb...
Quality Control
The quality will vary greatly depending on how they are built. A high quality commercial unit will always sound better than a freebie. This is more so than any other type of effect plugin.
When producing sound effects, you can usually use anything from lo-fi to hi-fi (high fidelity). But you will notice the difference in quality between Reverbs.
I personally like using a mid to high quality Reverbs, as the quality always shines through. As always, use the tools that give you the quality of effect that you are looking for. Sometimes lo-fi is a requirement when producing certain types of sound effects.
TV graphic showing Waves Renaissance Reverberator
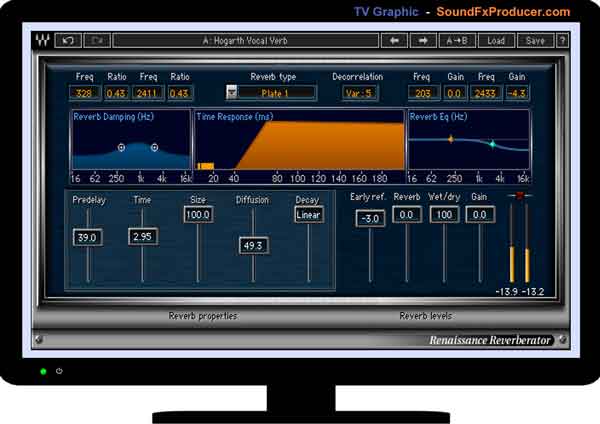
Screen shot (Courtesy of Waves Audio)

Lo fi - Hi fi.
"What`s The Difference?"
The main big difference between a (cheap/free - and - mid/high end) is...
• Cheap (less of an attempt to imitate reality-less calculations used)
• Mid/High end (more work and time to re-create reality-more calculations required)
“What does this mean for us?”...
There is always a trade-off between quality and the amount of plugins you can use at once. The higher the quality of the plugin the more intense it will be on your computer processor. I have used some that have made my computer crash. However, on the flip side, “the quality of the Reverb it gave me was excellent.”
"Low quality will usually sound harsh and cold. Good quality will be smooth and warm."
When working with your Reverb Plugin you may want to keep a close eye on the VST performance metre. This will show you how much of your computer processor resources that the plugin is using.
Cubase VST performance metre

Mission Control!
Let`s have a look at some of the common controls...
Screen shot of Steinberg(Spectral Design) Reverb 32 plugin
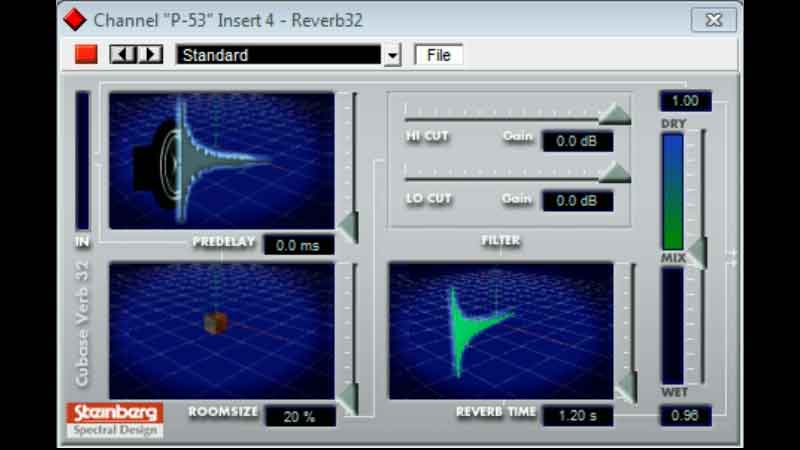
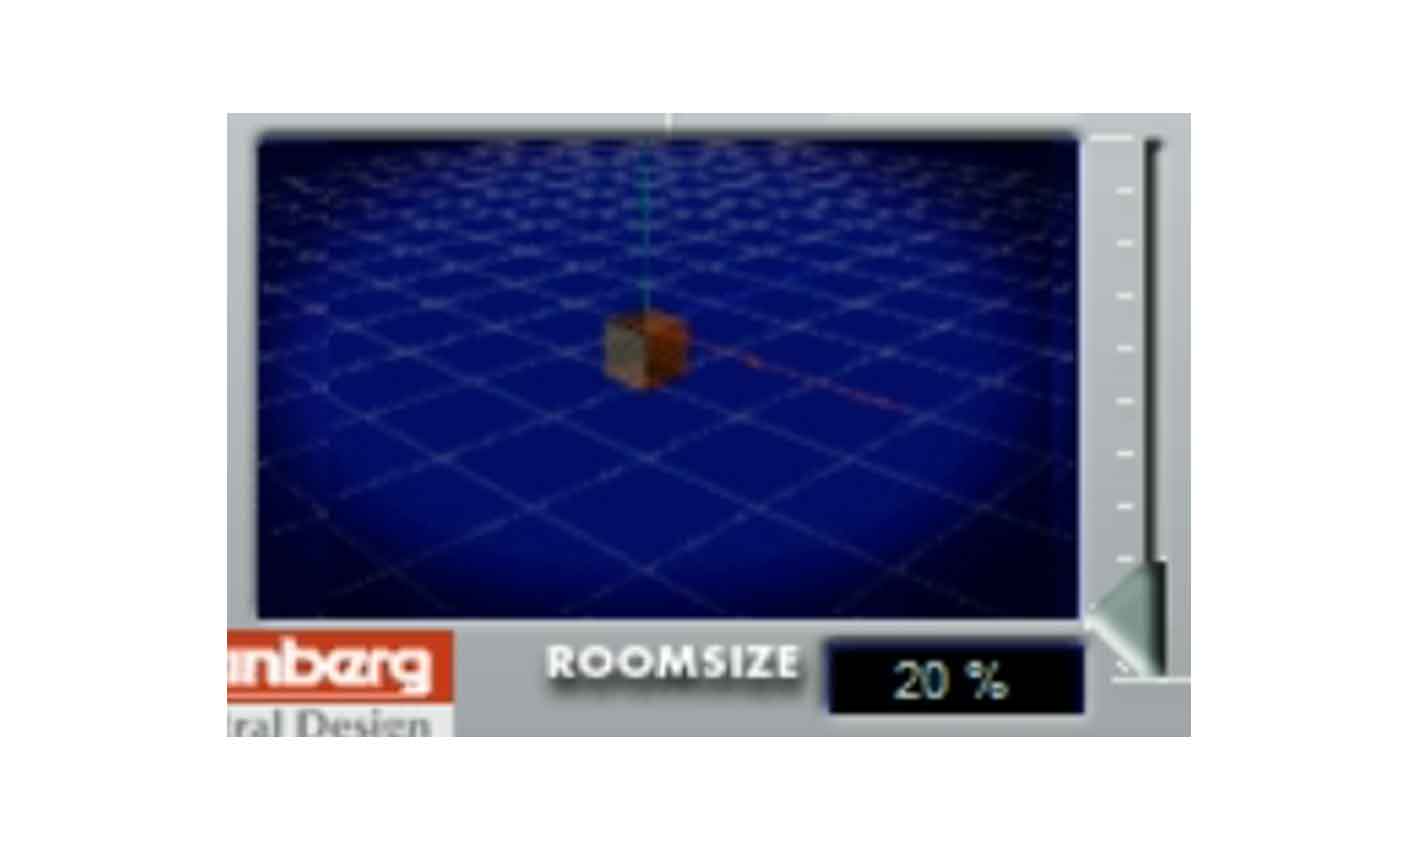
Room Size
The bigger the room, the bigger the sound will be.
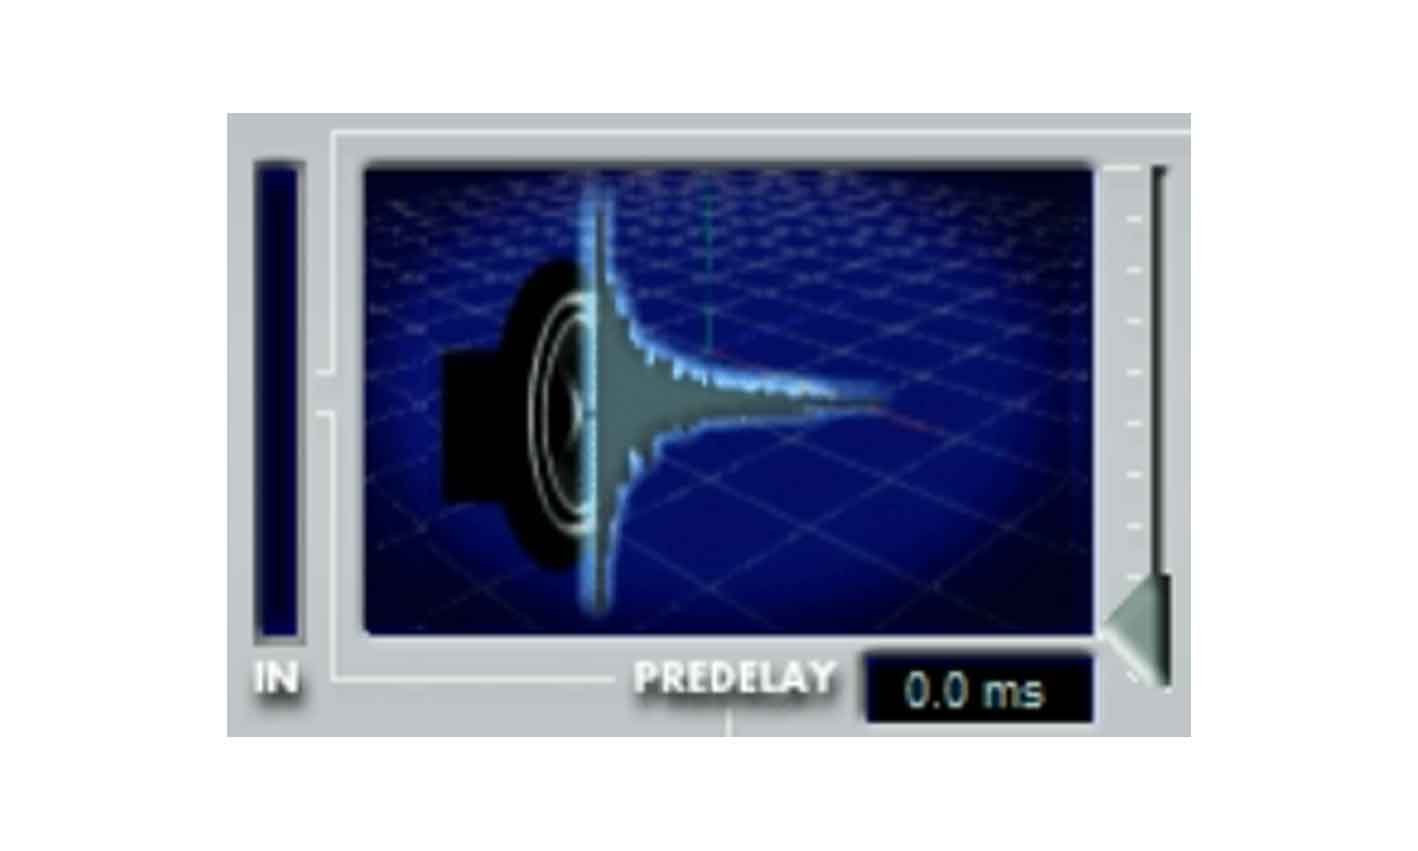
Pre Delay
The delay time between the original sound and the Reverb tail.
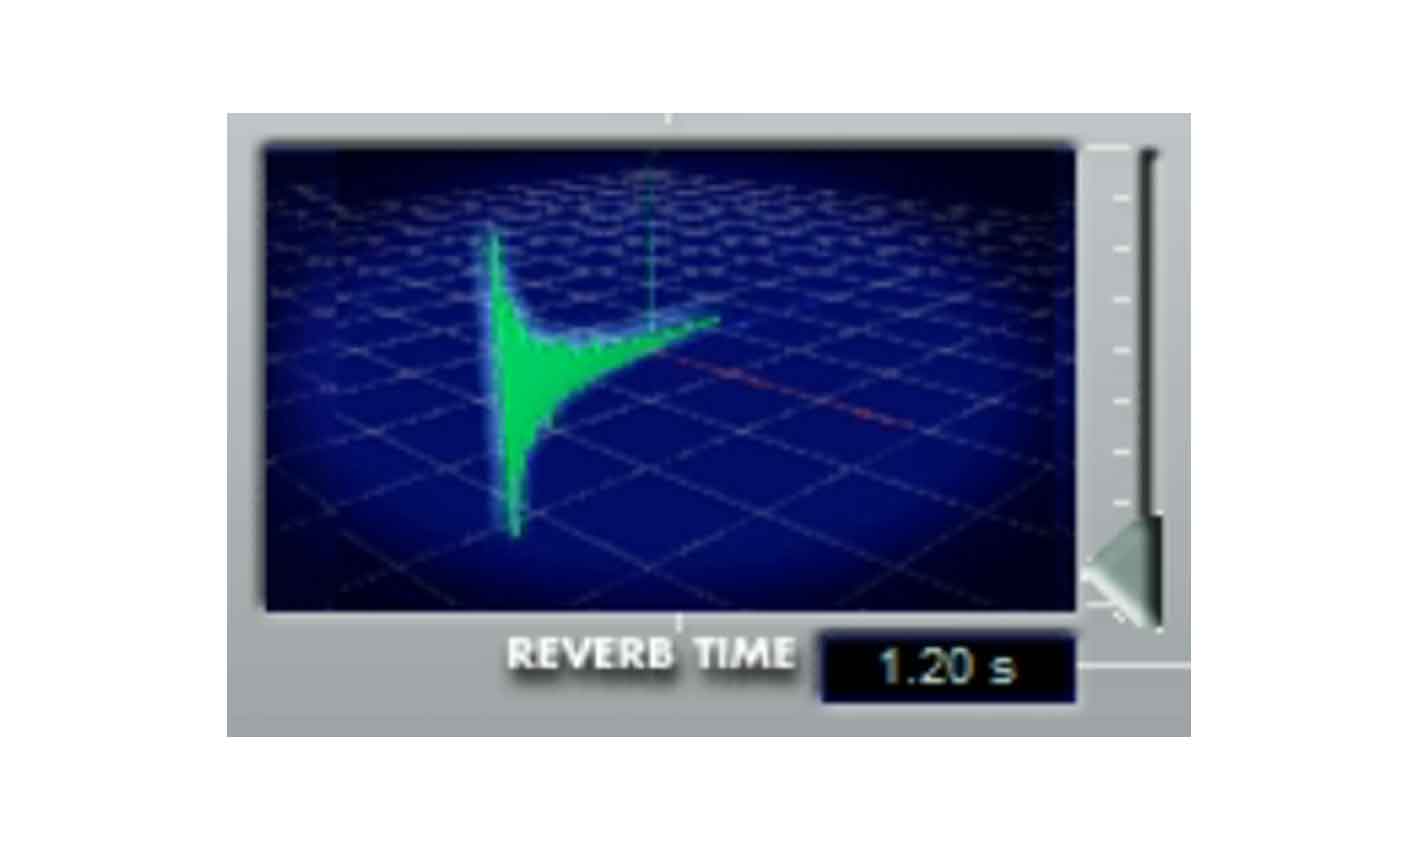
Time
This sets the length of time the tail hangs around for.
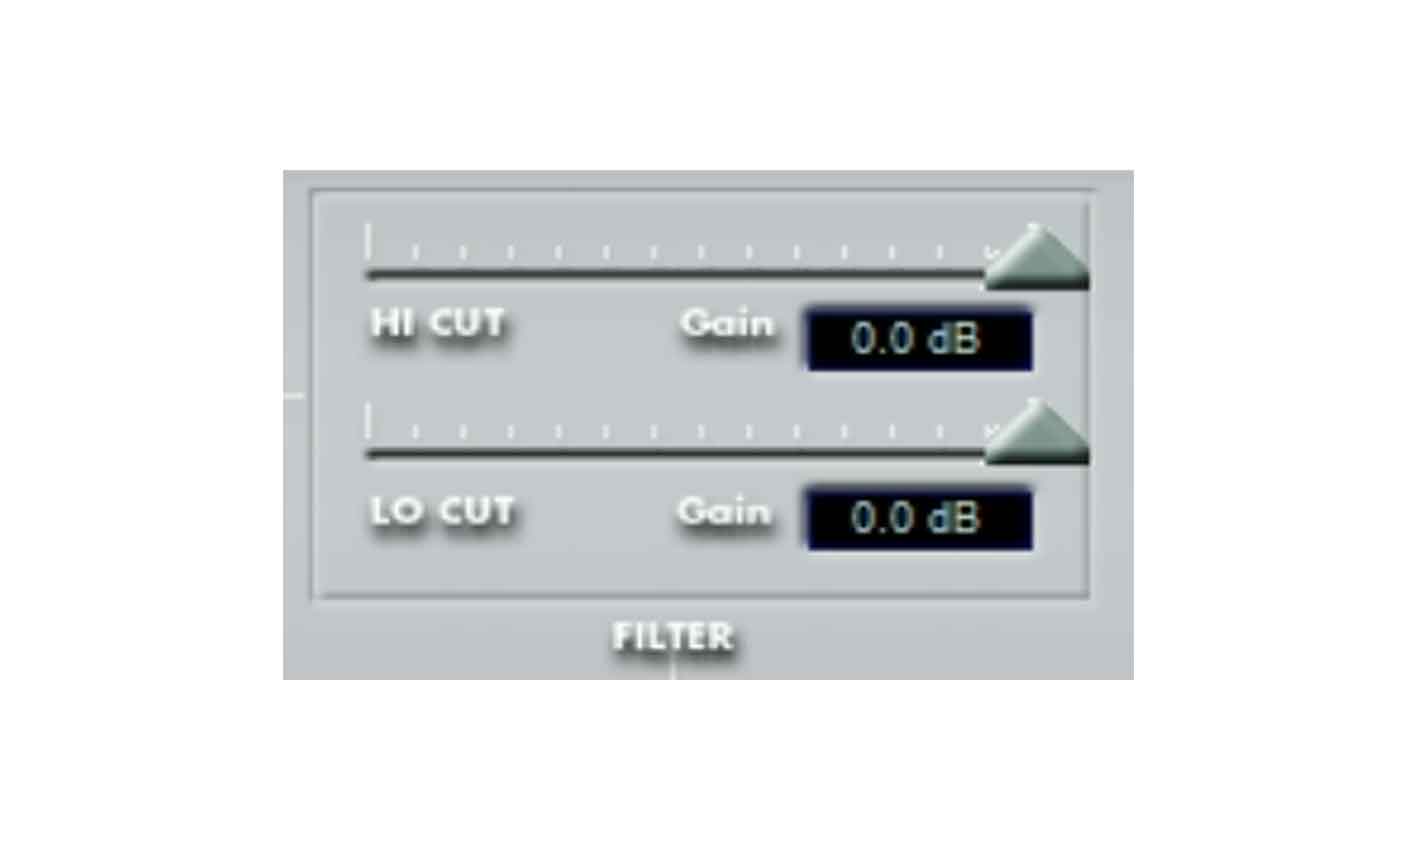
Filter
Add an amount of damping to the sound by removing parts of the frequency (sound vibrations) range.
• Remove some of the high frequencies to make the sound appear more distant.
• Remove the low frequencies to reduce rumble.
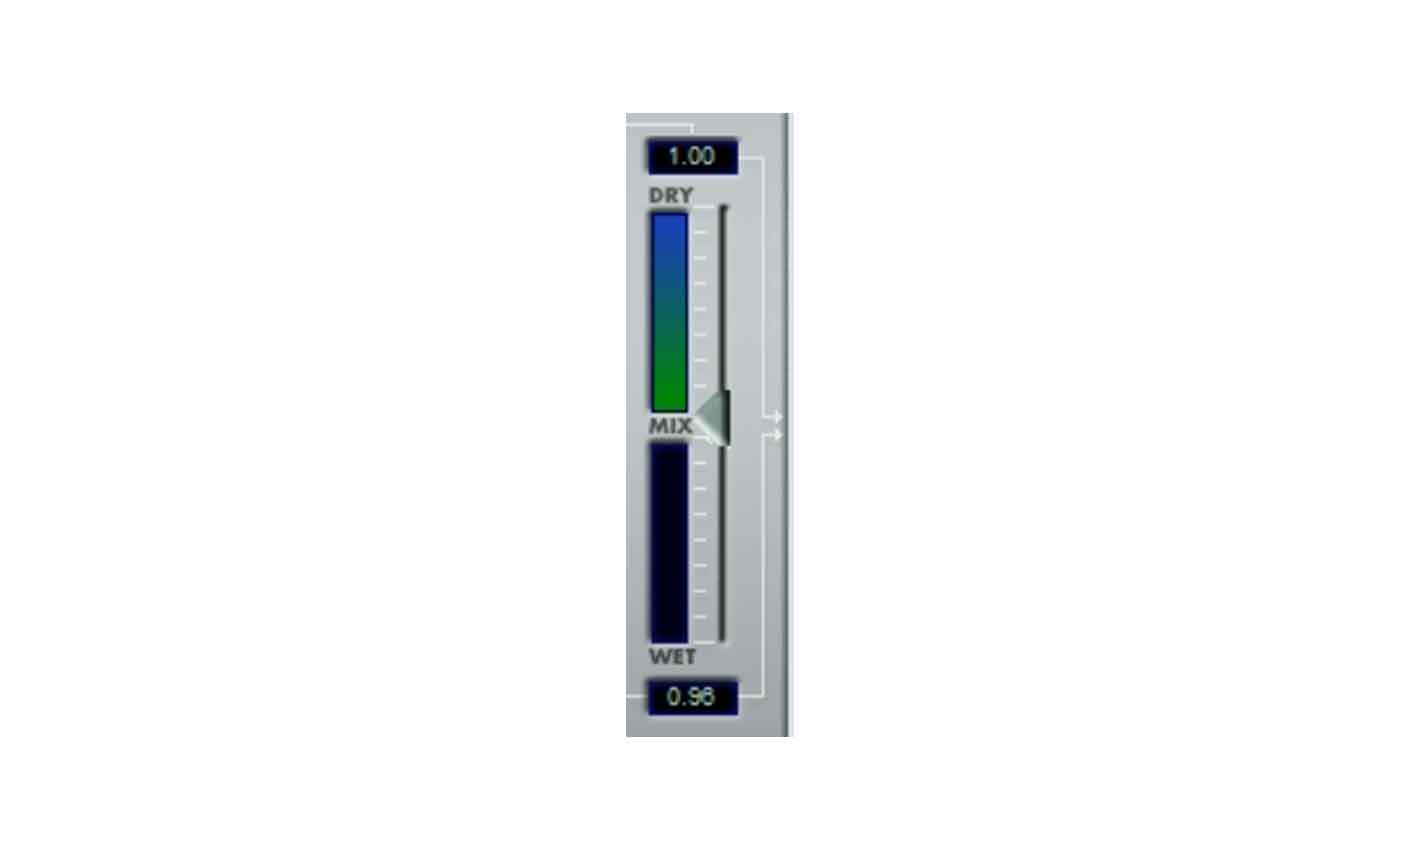
Wet/Dry Mix
Use this control to set a mix between...
• Dry – No effect
• Dry/Wet balance – Everything between Dry and Wet
• Wet – All effect
If the balance is set exactly in the middle (Mix) like the picture below, the sound will be 50:50. It will be a mix of exactly 50% dry sound and 50% reverb (wet) sound. It is quite common to have the controls set like this for most effects as it allows us to clearly hear how the effect is changing the sound.
Check out the video below which shows all the screen shot controls above in operation. (A simple, short synth tone is used to compare the sound before and after).
This is a very simple plugin (certainly not high-end), but it shows how (with graphics) the controls effect the sound.
The important thing is that it shows the main controls that are used in all these plugins. High-end plugins will have many more controls to fine tune your sounds (as seen in the waves plugin screen shots at the beginning of this page).
"Note, first part of video shows the controls without sound."
Steinberg(Spectral Design)-Reverb-32-Plugin-in-action
For the full screen (click on the bottom right corner of this video)
