Audio Compressor
An Audio Compressor has one aim. To squash the audio signal. This brings down the level of the audio peaks and makes the overall signal lower in level.
TV graphic showing Waves Renaissance Compressor
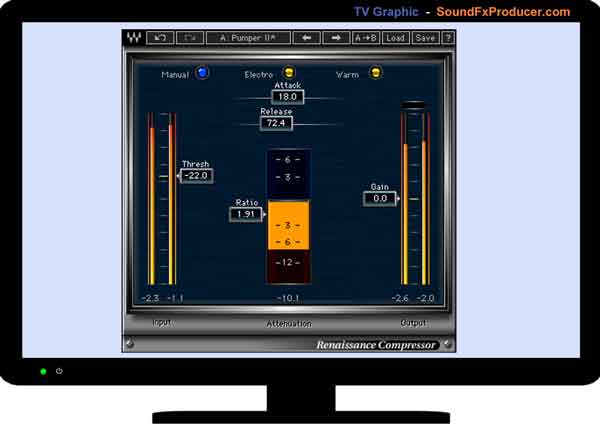
Screen shot (Courtesy of Waves Audio)
This is an excellent plugin. It`s not too complicated, yet it gives us the manual control we need with attack and release controls. It also has a nice vintage element to it with electro and warm buttons which simulate the sound of old hardware equipment.
“Why do we need to make the audio peaks lower in level?”...
To prevent digital audio clipping (horrible sound created when a digital signal goes higher than the equipment can handle). This clipping results in the signal becoming a square shape at its peak instead of a round shape. Part of the signal gets cut off or lost.
“What are the benefits of using an Audio Compressor?”...
Simple, to make our sound louder. “How?” By reducing the dynamic range (the difference in level between the loudest and quietest parts of the signal). This makes the signal more even in level than it was before compression.
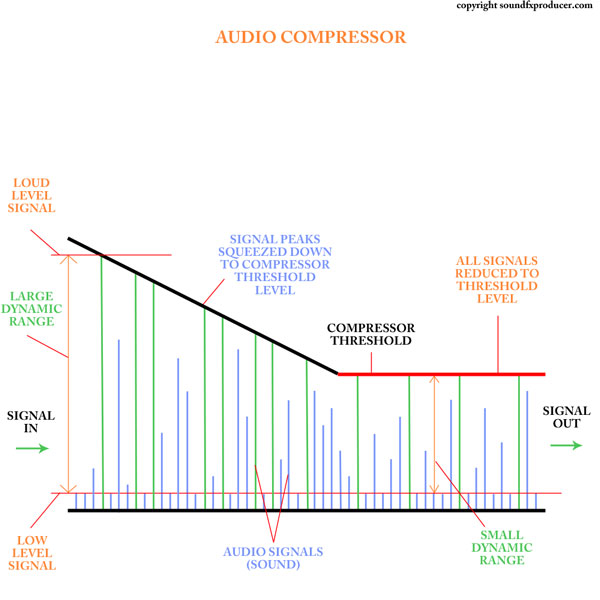
Graphic showing dynamic gain reduction
“How does it make the sound louder if its job is to reduce the level of the loud peaks?”...
When the loud peaks are reduced in level, we end up with space between the newly reduced peaks and the maximum peak limit that the equipment can handle. This is called headroom. “So what can we do with this extra space?”...
Fill it up. The compressed signal is now more tame and predictable because we brought the signal peaks and the lower level parts in the signal closer together (under control). Now there isn’t any nasty surprises to pop up when least expected. We can now...
Fill up this space by turning up the level (gain) of the sound. We must make sure that we turn up the signal as loud as possible without clipping it again; otherwise this would defeat the whole purpose of using the compressor in the first place. We should leave a small space now between the peak signal level and the maximum level the equipment can handle.
When turning your signal volume up, be sure to keep a close eye on the red clip lights (lights on an audio channel strip that let you know the signal is too strong) to prevent your signal from distortion (clipping).
Check out the images below. They show a Cubase channel strip before and after digital clipping.
The image on the left shows a good signal (-10db) without clipping.
The one on the right has the red clip lights on. The signal is way too strong and will sound horrible.
 signal without clipping |
 signal with clipping |
After the signal is brought up to a safe level it can be normalized (brought to its maximum volume without distortion) automatically using an audio editor.

Let`s take a look at what has happened...
- Audio compressor reduces peaks in the signal
- Dynamic range is reduced and signal is evened out
- Gained extra headroom because the signal peaks were reduced
- Can turn up the overall signal to make it louder without clipping
By reducing the dynamic range we are able to turn the audio signal up in level making the sound louder overall. If we compare signals before and after compression, we realize how useful and important an audio compressor actually is. For example...
Suppose we have a sound which is quite low in volume and there happens to be just one large signal peak which is much higher than the overall quiet volume of the sound. This peak is a problem which is preventing us from bringing the low volume sounds level up by much. This is because the signal peak will clip long before the quieter part of the sound, leaving a large space between maximum peak level before clipping, and the low level signal.
If we reduce the signal peaks first, when it comes to increasing the volume, we are able to turn the level (volume) up and bring the lower (average) signal level up by a greater amount.

A Few More Plugins
TV graphic showing Waves C1 Compressor/Gate
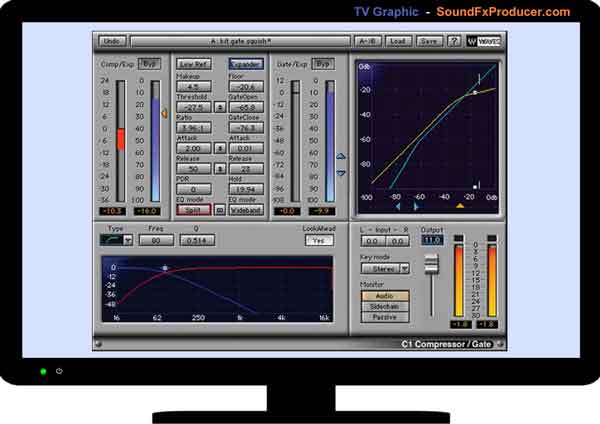
Screen shot (Courtesy of Waves Audio)
The Waves C1 is quite a useful plugin as it has a graphical display. It also has a side chain function which can be used for triggering the compressor with a different source signal. The extra gate function is also a nice bonus.
The learning curve is much greater as there are many more controls.
TV graphic showing Waves V-Comp
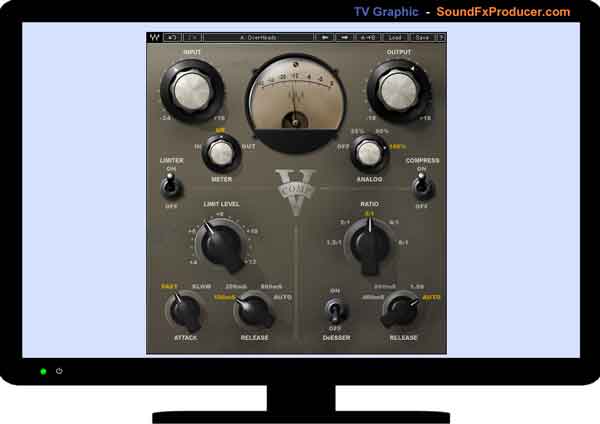
Screen shot (Courtesy of Waves Audio)
Another classic plugin from Waves. This is based on the sound of the vintage 2254 hardware compressor.
TV graphic showing Waves Renaissance Vox
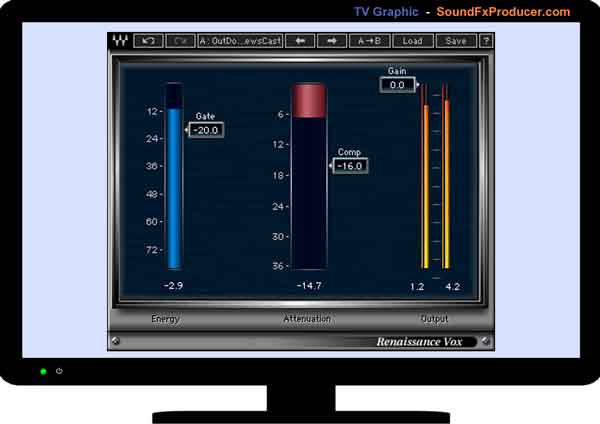
Screen shot (Courtesy of Waves Audio)
This is one of the most simple to use plugins that Waves have created. However, there is more going on behind the scenes. "Waves claim that there is a lot processing power and automatic control taking place."
They have certainly worked their magic on this one. I use it all the time. I love its speed and simplicity. It sounds great too. If you are serious about working with sound and want a fast and simple result, this plugin is a perfect choice. Its great for sound effects.

The Controls On A Modern Compressor Plugin
Threshold
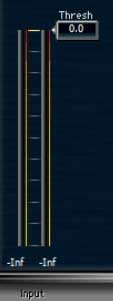
When this is set, any input signal which goes above this level will be compressed.
Ratio
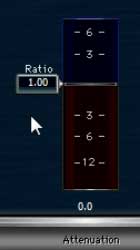
When the signal goes above the threshold level, the ratio controls how much compression is applied.
Attack
Measured in milliseconds, the attack controls the response time that the compression will start.
Release
Measured in milliseconds, the release controls the response time that the compression will stop.
Gain
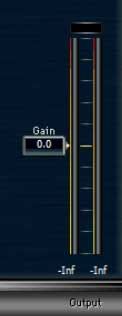
This is the output gain. It decides the strength of the output signal after the compression is applied. It usually needs to be increased to bring the signal up in level after the dynamic range has been reduced.

An Audio Compressor can take a long time to master especially if its one with lots of controls. This is because its difficult to hear what`s happening to the signal as we adjust the controls. However...
Stick with it and try to master it. The reward will be worth the effort. Compression is a key element in sound production. It can make a huge improvement to a sound if used correctly. On the other hand...
If you want a simple and quick solution, go for the Waves Vox Plugin or something similar.
